Showing posts with label baking. Show all posts

Monday, November 17, 2014

Lighter Pumpkin Bread

Aside from all the jokes about pumpkin flavored everything, it really is an essential flavor during the holidays. I'm sure if Family Feud surveyed 100 people and asked, "What is the most popular flavor of fall?" "Pumpkin" would be at the top of the list!

So here I bring you, a recipe for delicious pumpkin bread. This is one of my favorite recipes, AND it's lighter than traditional recipes without sacrificing flavor and texture. :)

The original recipe makes 3 9x13 loaves, but you can make them into muffins, mini loaves, etc. I was able to make 3 mini loaves (which I gave away as gifts) and 6 jumbo muffins.

Lighter Pumpkin Bread (adapted from allrecipes' Pumpkin Bread IV)
Ingredients
(Dry)
2 cups all-purpose flour
1.5 cups whole wheat flour
2 tsp baking soda
1/2 tsp salt
2 tsp ground cinnamon
1/2 tsp ground nutmeg
1/2 tsp ground ginger

(Wet)
1 (15 oz) can pumpkin puree
4 eggs
1 cup canola oil (I used 1/2 cup canola, 1/2 cup melted unrefined coconut oil)
2/3 cup water
2.5 cups white sugar
2 tsp vanilla extract

Directions
1. Preheat oven to 350 °F. Choose your desired pans and prep accordingly.
2. Sift/whisk all the dry ingredients together. Mix all the wet ingredients until smooth. Pour the dry ingredients into the wet and mix until well blended.
3. Pour into prepared pans and bake. Baking time will vary with the type of pans you choose. My jumbo muffins took 28 minutes to bake, and my mini loaves took 38 minutes to bake. Regular muffins will take about 20 minutes, and a 9x5 loaf will take about 45-60 minutes. The best way to test for doneness is to insert a toothpick or skewer into center of the bread, and it comes out clean. Cool and frost if desired.
Drizzled with melted white chocolate + unrefined coconut oil
Jumbo muffins!
These make the perfect gift because they taste even better over the next couple of days! Enjoy :D

Wednesday, October 29, 2014

#BasicDog Pumpkin Treats

What's more basic than pumpkin spice anything in the fall? Nothing. Now your dog can also embrace the basicness in a spicy pumpkin treat.

Last week I bought a package of soft dog cookies for about $5, and after a couple of days it was completely finished! Most cookies I buy for my dog are hard and crunchy, but I really like the idea of a softer treat. This recipe I came up with is super duper easy and perfect for the fall.

Brawny and my sister's 2 German Shepherds absolutely loved these cookies. You can eat them too! These are really great to bring along on a hike or long workout as they are filled with fiber and vitamins. They're also very mildly sweet, so don't expect a sugary pumpkin cookie taste!

Soft Pumpkin Dog Cookies (makes ~24)
Ingredients
2 cups oat flour
1 1/2 tsp ground cinnamon
1/4 tsp baking powder
1/2  tsp ground ginger (optional)

3/4 cup canned pumpkin
3 Tbsp coconut oil, melted
4 Tbsp honey


Directions
1. In a large bowl mix together the oat flour, cinnamon, baking powder, and ginger. In a separate bowl, mix together the pumpkin, coconut oil, and honey.
2. Pour the wet mixture into the dry and stir until well combined.
3. Scoop tablespoons of dough onto a parchment-lined cookie sheet and flatten with a fork.
4. Bake for ~15 minutes at 350 F°. (Bake 5-10 minutes longer if you want a firmer cookie).
5. Let cool and store in an airtight container. :)

Pumpkin batter
Cookies before baking
#BasicDog loves his #BasicCookies
Now go make these pumpkin treats! To fully get into character, dress warmly in your leggings and Ugg boots... and don't forget to Instagram the finished product. ;)

Thursday, July 24, 2014

"Healthier" Chocolate Cake

I'm back! It's not that I haven't been baking recently--it's because I haven't been baking really healthy things. Yes, there's a reason why this blog is called "pretty healthy desserts." :

Anyway, I've been up since 2:30 am. Why? I have no idea. I tossed around for about hour and decided to just get up by the time it was 3:30 am.  I ate some food, got caught up on the latest episode of Masterchef, worked on some graduation stuff... then I decided to bake a cake.

This is a very simple, basic "black magic" chocolate cake. I've made black magic cakes before, and they are pretty delicious. I made a few changes to Hershey's popular recipe, and it still turned out delicious! This version has less sugar and less oil. The original recipe also calls for strong coffee...I was lazy and didn't want to make coffee, hah. If you want, just substitute half of the buttermilk for coffee. It brings out the chocolate flavor more.

"Healthier" Chocolate Cake (adapted from Hershey's black magic cake)

Finished cake topped with chocolate, almond butter, and shredded coconut
Ingredients
(Dry)
1 cup all-purpose flour (I used 3/4 cup all-purpose and 1/4 cup whole wheat)
3/4 cup white sugar
1/4 cup cocoa powder
1 tsp baking soda
1/2 tsp baking powder
1/2 tsp salt

(Wet)
1 egg
1 cup buttermilk (you can substitute 1 cup water + 1 Tbsp distilled white vinegar)
1/4 cup canola oil
1 tsp vanilla extract

Directions
1. Preheat oven to 350 °F. Lightly grease a square 8x8 pan (for easier clean-up, line with aluminum foil and then grease)
2. Sift/whisk all the dry ingredients together. Make a well in the center and pour in the wet ingredients. Stir briskly until smooth.
3. Pour into prepared pan and bake for about 25 minutes, or until a toothpick inserted in center comes out clean. Cool and frost if desired.

Chocolate chips melting
I made a "frosting" by topping the cake with chocolate chips right after I pulled it out of the oven. The heat will cause the chocolate to melt. Wait for about half an hour for the cake to cool slightly, then add about 5 big spoonfuls of almond butter to the top; smooth to cover cake. The chocolate & almond butter will combine into one delicious spread. :) I added shredded coconut to the top to make it look more presentable.
Delicious!

My dog staring longingly at what he can't have...
I ate a piece and already want another! I like this cake because it's not too healthy to where it tastes like dry cardboard. :D

Monday, June 2, 2014

Healthy Homemade Dog Treats (4 Ingredients)

Time for another recipe for homemade dog treats! This one is suuuuper simple to make. AND it tastes pretty good too (yes, my sister and I actually tried some of the finished product).

I went over to my sister's place to bake, and she had what I thought were sweet potatoes in the pantry. However, when I cut one open, it was light purple on the inside! I think they were Okinawan sweet potatoes...anyway, either sweet potatoes or yams can be used for this recipe. :)

Oh! Instead of buying oat flour at the store, you can easily make it out of regular oats. I use a Vitamix to blend oats until they resemble coarse flour.

Banana, oat flour, sweet potato, and salt.
Mashed banana & Okinawan sweet potato
Ingredients
1 small banana
1 small sweet potato OR yam, steamed (directions below)
1 cup oat flour
1/4 tsp salt
1-2 Tbsp water (optional)

Directions
1. Mash together the banana, steamed sweet potato/yam, and salt in a bowl. Mix in 1 cup of oat flour.
2. If mixture seems too dry, stir in 1-2 Tbsp of water. The dough should hold together in a ball, but not be too wet. 
3. Roll out the dough into a 1/4" layer. Use whatever cookie cutter you want to cut out shapes and place on a baking sheet lined with parchment paper.
4. Bake for ~30 minutes at 325 F°. (bake for 5-10 minutes longer depending on how crunchy you want your treats to be).
5. Let cool and store treats in an airtight container. :)


(To easily steam a small sweet potato or yam in the microwave, just prick it all over with a fork, loosely wrap it in a wet paper towel, and microwave it for about 5 minutes [may need a minute or two more depending on the size of the potato/yam]. The outside should be slightly soft. I let the yam cool for a few minutes, cut it in half, and scooped out the flesh into my mixing bowl.)

Cooling after baking :)
Waiting patiently...just so I could take the picture
Delicious, crunchy treats

Thursday, February 20, 2014

Super healthy granola bars

I usually buy granola bars for on-the-go convenience, but sometimes they are way too sweet and have a lot of extra fat and additives in them. >_< In general, granola bars are extremely easy to make at home, so why haven't I made them more often? I DON'T KNOW. I think I shall be making my own from now on actually. :) Plus I really like the idea of getting to play around with the ingredients.

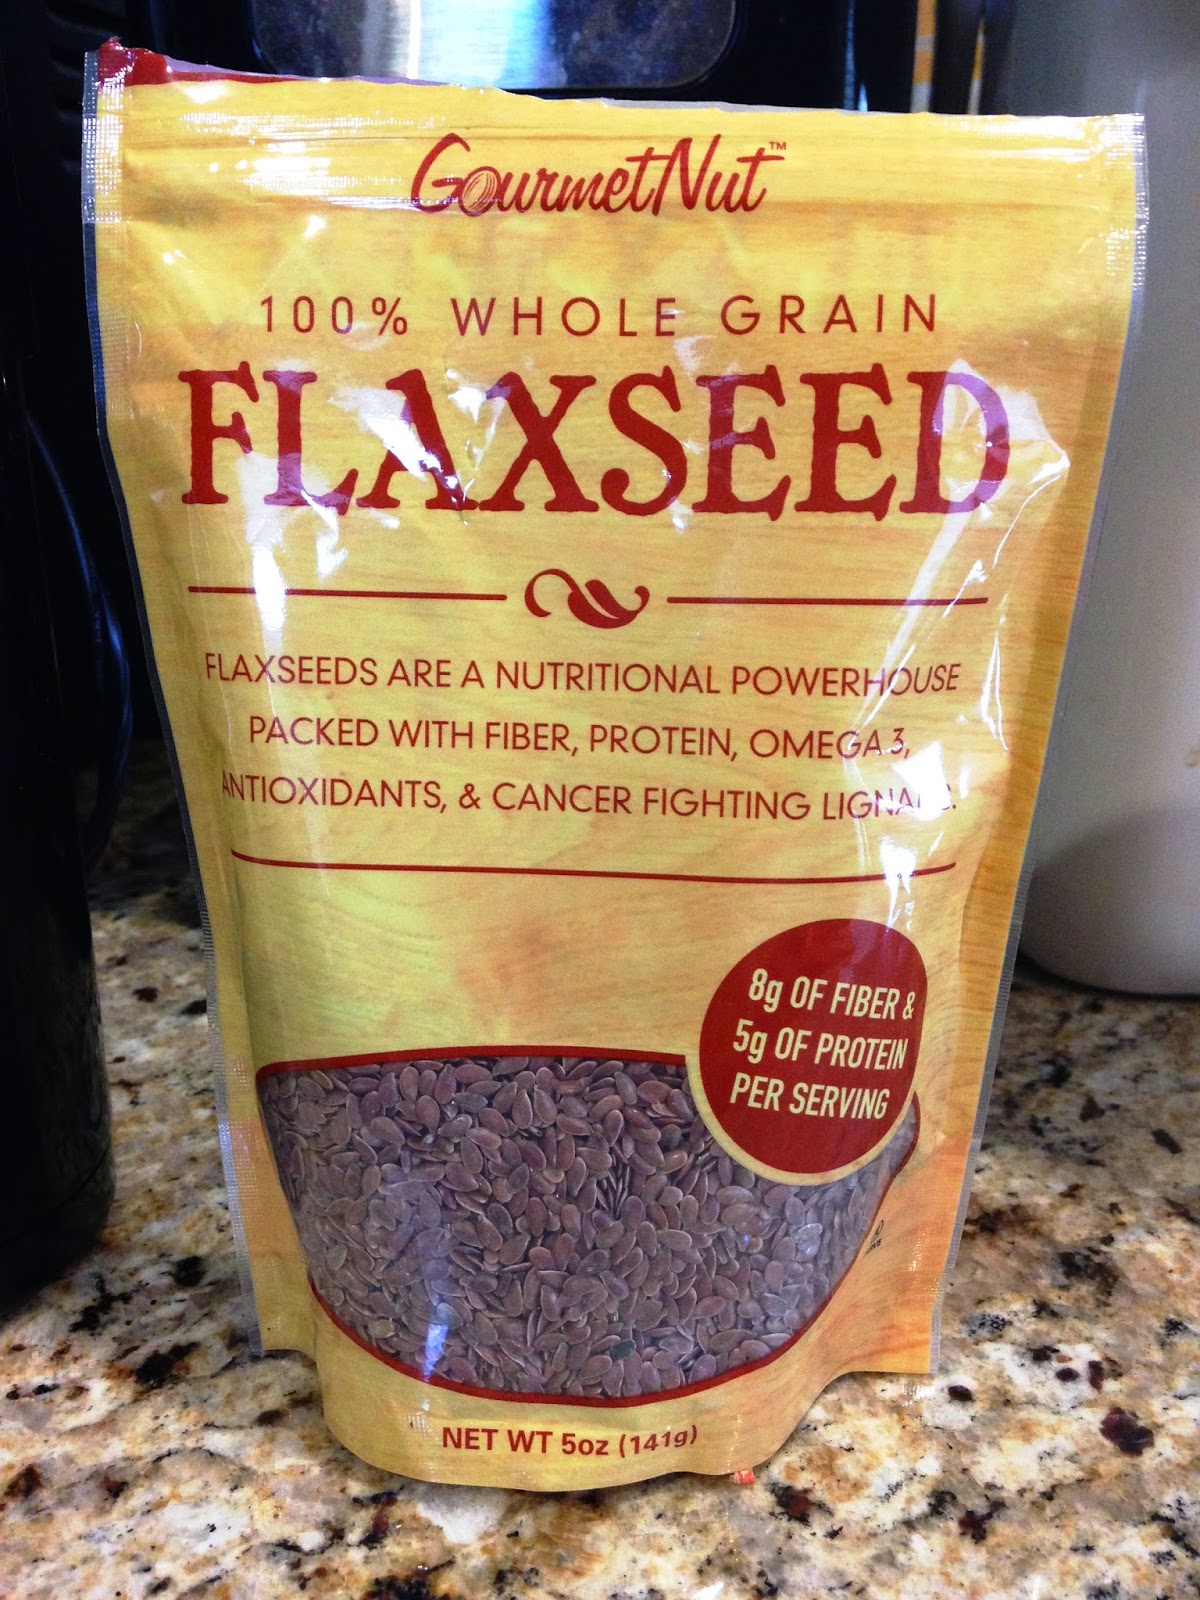
Flaxseed --> fiber, protein, and omega-3 :)
Used a coffee grinder to grind up my flaxseed
Rolled oats, wheat germ, flaxseed, cinnamon, salt... and I only used 6 tablespoons of honey for the whole batch! More can be added, but I like them subtly sweet. 
Ginormous jar of organic extra virgin coconut oil
(Note: ok, so I know it's pretty debatable whether coconut oil is truly healthy or not... I'm currently working on a research paper that analyzes how coconut oil affects the lipid profile of adults...yes, very fun and informative stuff. ;) So far it appears safe, but there's still a lot of research that needs to be done with human subjects.
I personally like using coconut oil, BUT if you are cooking/baking with it, be sure to choose the unrefined/virgin kind!)

Yummeh!!! I added in coconut, dark chocolate chips, and dried cranberries
I baked these in an 8x8 pan and cut them into 10 bars. :)
I'm still tweaking around with the recipe, but these were really healthy and delicious. 

Thursday, April 18, 2013

Gluten-free Tiramisu Cupcakes


    Earlier this week my clinical nutrition class had to plan and make a gluten-free meal for our food service management class. The food theme we chose was Italian, and I was in charge of the dessert. I decided to make tiramisu-->in the form of a delicious cupcake! I tweaked around with some recipes and came up with a basic vanilla almond cupcake, a coffee-soaked layer, and a mascarpone filling/topping. Did had a couple of trial runs and in the end, a successful cupcake was born! These are fairly easy to make, and they taste delicious (FOR GLUTEN-FREE. lol) :)

Mmmm
Gluten-free Tiramisu Cupcakes
I recommend using this brand of gluten-free flour!
Cupcakes (makes about 32)

Ingredients

·        4 cups gluten free all-purpose flour blend

·        4 tsp baking powder

·        2 tsp baking soda

·        1 tsp salt

·        2 sticks of unsalted butter

·        1 cup granulated sugar

·        1 cup brown sugar

·        4 eggs

·        4 tsp vanilla

·        2 tsp almond extract

·        1 cup almond milk

·        4 tsp apple cider vinegar


Directions

1.  In a small bowl, mix the almond milk with the apple cider vinegar and set aside while you prepare the rest of the ingredients.

2.  In another bowl, mix together the gluten-free flour, baking powder, baking soda, and salt. Set aside.

3.  In a large bowl, cream together the butter, granulated sugar, and brown sugar until light and fluffy. Blend in the eggs, vanilla, and almond extract. Stir in half of the dry ingredients to the mixture, then the almond milk, then the rest of the dry ingredients (stirring well after each addition). Mix until smooth.

4.  Line cupcake tins with aluminum baking cups. Bake in preheated 350 F oven for about 20 minutes.


Liquid Coffee Layer

Ingredients

·        1 ½ cups water, boiling

·        ½ cup brown sugar

·        2 Tbsp instant coffee (or 2 Tbsp coffee liqueur)


Directions: Mix boiling water, brown sugar, and instant coffee all together. Use fork to poke holes in baked cupcakes; spoon 1 tbsp of syrup evenly into each cupcake.


After the coffee layer is added (yes, it looks kind of ugly haha)
Filling/topping
Ingredients

·        1 (8 ounce) container mascarpone cheese

·        8 oz. cream cheese

·        1/2 cup softened butter

·        3 cups confectioners' sugar

·        1 Tbsp vanilla


Directions: In a small bowl, using an electric mixer set on low speed, cream the mascarpone, cream cheese, and butter. Gradually add in the confectioners' sugar and vanilla; whip on high until thoroughly mixed. Pipe into cupcakes and/or frost on top.


Frosting ingredients (it made too much the first time, so I halved it for this recipe)
Note on the filling/topping: It was really soft when I made it, so I put it in the fridge for about an hour to firm up. Still soft, so don't expect it to whip up super fluffy. You can try cutting down on the cream cheese or mascarpone and increasing the powdered sugar if you want something more whipped and fluffy.
Tada! Finished cupcakes dusted w/cocoa powder
AWESOME dessert team!!! <3

Tuesday, April 9, 2013

Lighter Chocolate Chip Cookies

Hello, world! I have transitioned from my old blog (which is now private) to this brand new one. :)
I decided to bake “healthier” chocolate chip cookies for my first official baking post. I made a number of changes to a traditional chocolate chip cookie recipe: I reduced the butter by more than half(!), reduced the sugar by 1/3, reduced the amount of chocolate chips, and subbed in some almond flour for the all-purpose flour. I also added some almond milk at the end because I thought the batter looked a bit dry.
Don't they look good?
Izzy’s Lighter Chocolate Chip Cookies 
Ingredients:
·         1 ¾ cup all-purpose flour (I used unbleached)
·         ½ cup almond flour
·         1 tsp baking soda
·         1 tsp salt
·         1 tsp instant coffee powder (optional)
·         6 Tbsp unsalted butter, softened
·         1 cup dark brown sugar
·         1 large egg
·         2 tsp vanilla
·         1 Tbsp water
·         ¼ cup unsweetened almond milk
·         ½ cup semi-sweet chocolate chips

Directions:
1.       Preheat oven to 350°F and cover a cookie sheet with parchment paper.
2.       In a small bowl, sift (or whisk) together the dry ingredients: all-purpose flour, almond flour, baking soda, salt, and instant coffee powder.
3.       In another bowl, blend together the softened butter with the brown sugar. Add in the egg, vanilla extract, water, and almond milk and mix until smooth. Mix in the dry ingredients and stir in chocolate chips.
4.       Drop by tablespoons on prepared baking sheet and bake for 13-15 minutes.  Makes 24 cookies.

Dry ingredients + butter & brown sugar; ready to be popped into the oven!

I even calculated the nutrition facts with this really helpful website: www.nutritiondata.com
Each cookie has about 138 calories. As you can see, it’s not necessarily healthy, but definitely lighter in calories, fat, and sugar than a traditional chocolate chip cookie! (Next time I’d probably incorporate whole wheat flour as well).